

Erin enjoys attending various Home and Garden shows when she isn't spending time writing. She loves finding new ideas and inspiration to bring to her own outdoor spaces and share with you!
- Best Porch Fireplace Ideas - August 29, 2022
- How to Build a Patio Guide in 5 Steps - August 29, 2022
- Farmhouse Fall Porch Decor Guide - August 27, 2022
Porches have always been a part of my life- from humid summer days swinging on a porch swing to a grill out on a crisp autumn day. But most of my life, those porches have been uncovered. While that’s not always terrible, a porch roof is one of the best upgrades you can make. Not only does it add curb appeal to a home, but it also provides cover so you can extend your time outside.
Of course, connecting a porch roof to a house is not easy. It’s one of the more challenging DIY home improvement tasks. From making plans to making sure every detail works with your horm and gathering the right materials, consider this your guide.
I’ll show you how to connect a porch roof to your house- with links to helpful materials and step-by-step tutorials. No matter if you have a small porch or a large one, these tips will help you make your greatest home improvement upgrade yet.
Bottom Line Up Front Summary
Connecting a porch roof to your home requires careful planning. First, gather all necessary materials, make a budget, and decide on the main type of porch roof you want. After making sure you have the right safety equipment, take the step-by-step process, making sure you understand the needed measures and load-bearing requirements. This project will take you a while, so I recommend having roof felt on hand to protect and in-progress construction.
And if I had to recommend one main material for your porch roof, I’d recommend asphalt shingles if you’re on a budget. They’re easier to work with for a DIY project, the most affordable solution, and are widely available. Another plus? Asphalt shingles are weather-resistant.
Attaching a Porch Roof to a Home
No matter what design you have in mind, a DIY project of attaching a porch roof to a house isn’t easy. Luckily, if you take installation step by step, you should have all the details covered. Blueprints aside, here’s how you can prep and attach a porch roof to any house.
Step One: Must-Have Tools and Materials
The organization doesn’t come naturally to me: I can be a little messy, and I sometimes get overwhelmed with larger projects. What works for me? Planning. Planning gives me a vision for my project- and for something as painstaking and tricky as connecting a porch roof to a home, it’s all that much more important.
While you may need more tools and materials, these are staples that are helpful for most porch roof-to-home connection projects:
- Lag Screws with Washers
- Nails/ Nail Guns
- Siding (bevel siding)
- Ledger
- Power Drill/ Saw
- Support Columns & Support Beams
- Rafters
- Wall Plate
- Joist for Ceiling
- Roofing Felt (see porch materials/ styles guide below)
- Main Roof Materials (see porch materials/ styles guide below)
- Beams, planks, tiles, rafters, shingles
- Knife
- Protective Gear (see step three)
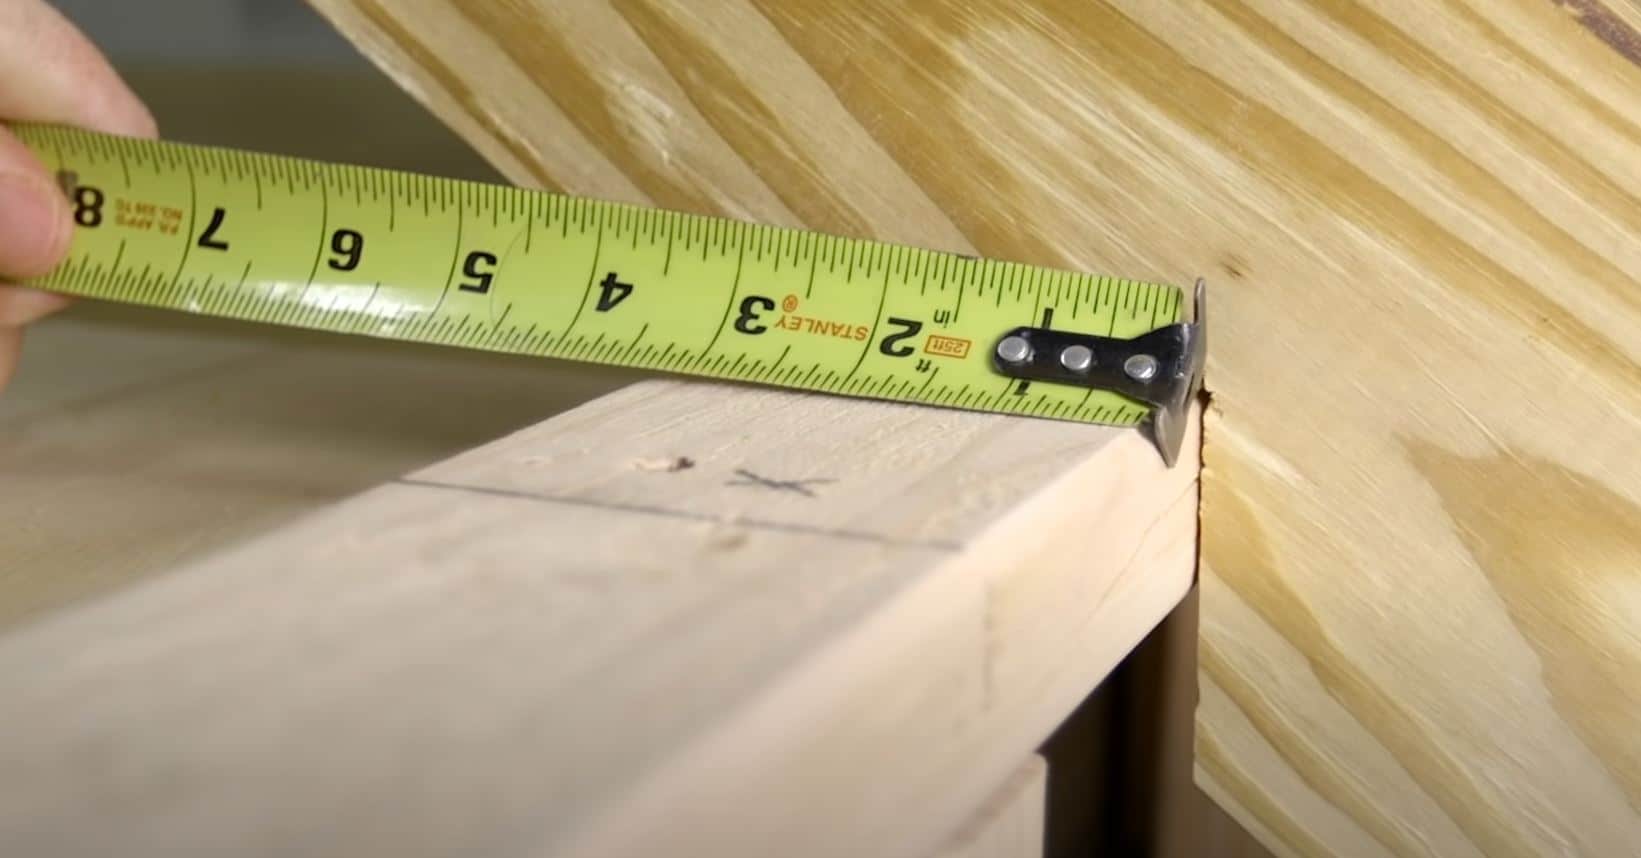
Step Two: Planning and Measurements
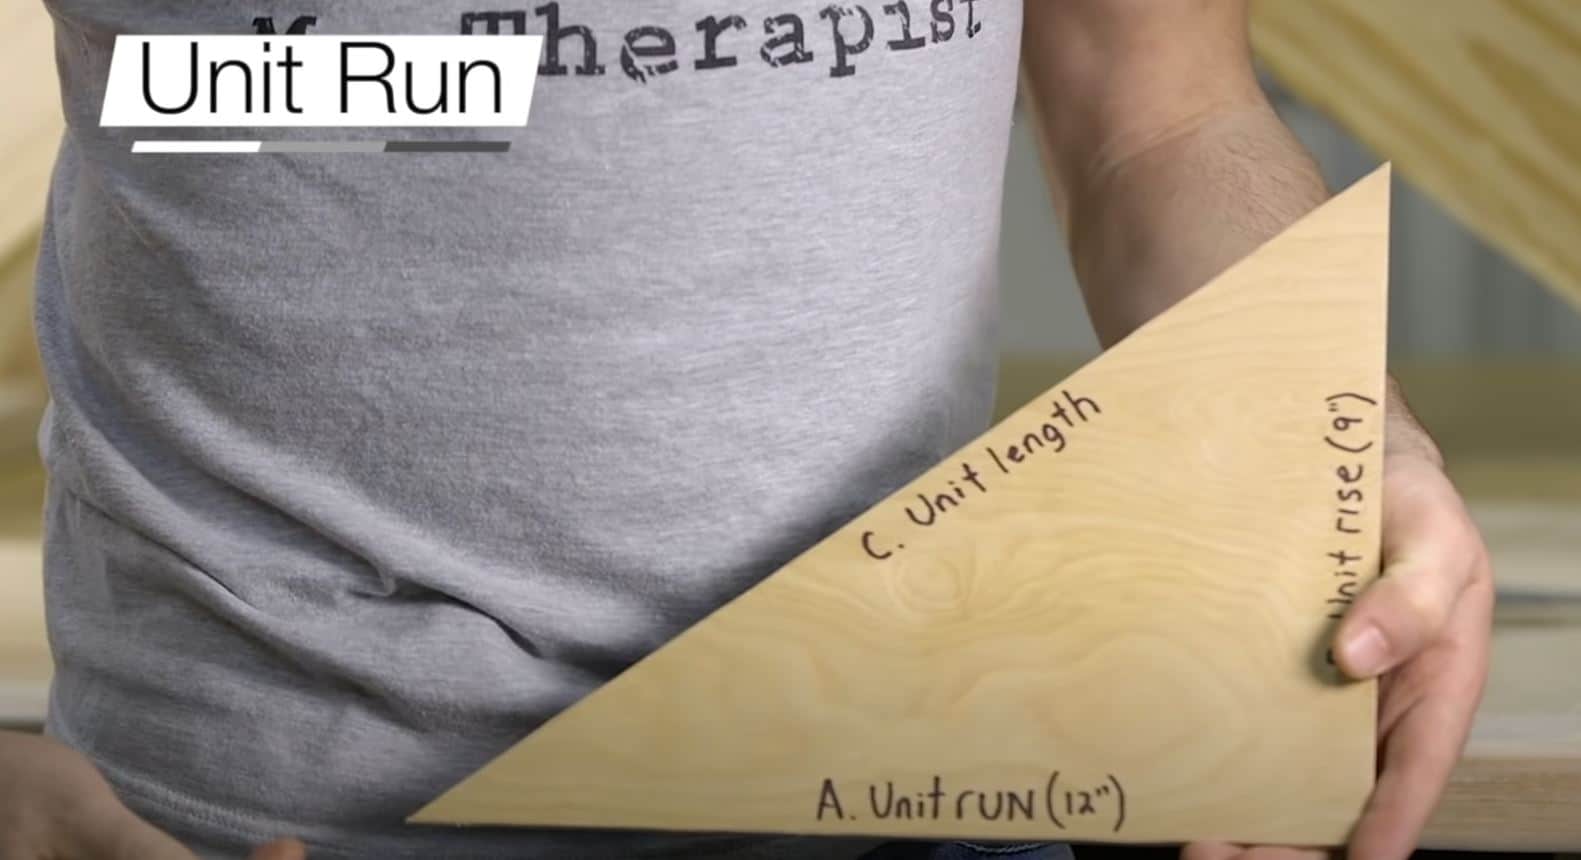
Once you’ve gathered your materials, it’s time to plan. First, a quick run-down on measurement terminology:
- Pitch= slope of the roof (angle)
- Rise= length from eaves to ridge
- Run= horizontal distance eaves to ridge
Total Roof Area
Of course, your need your roof to align with your porch. A simple calculation is length times width, but if you want overhang- or have a steeper slope- you need to add in the amount of the desired overhang. You should never go over 2 feet for your overhang.
Porch Roof Slope
- A flat porch roof is the worst for snow and weather protection and has a slope of less than 2/ 12
- My favorite range for most is 4/12 to 8/12 – this provides a good slope for weather protection, without the hassle and cost of a steeper slope
Porch Roof Support Columns/ Posts
Porch columns are needed for your project to properly attach (and provide support) a porch roof to your house. Shoot for 8, 10, or 12 diameter support columns. The post should be a minimum of 8 feet tall.
You also need adequate support! To find out how much PSF you need (pounds per square foot, use this formula:
- Porch Roof Area X Load/ Square Foot = Total Load
Step Three: Safety First
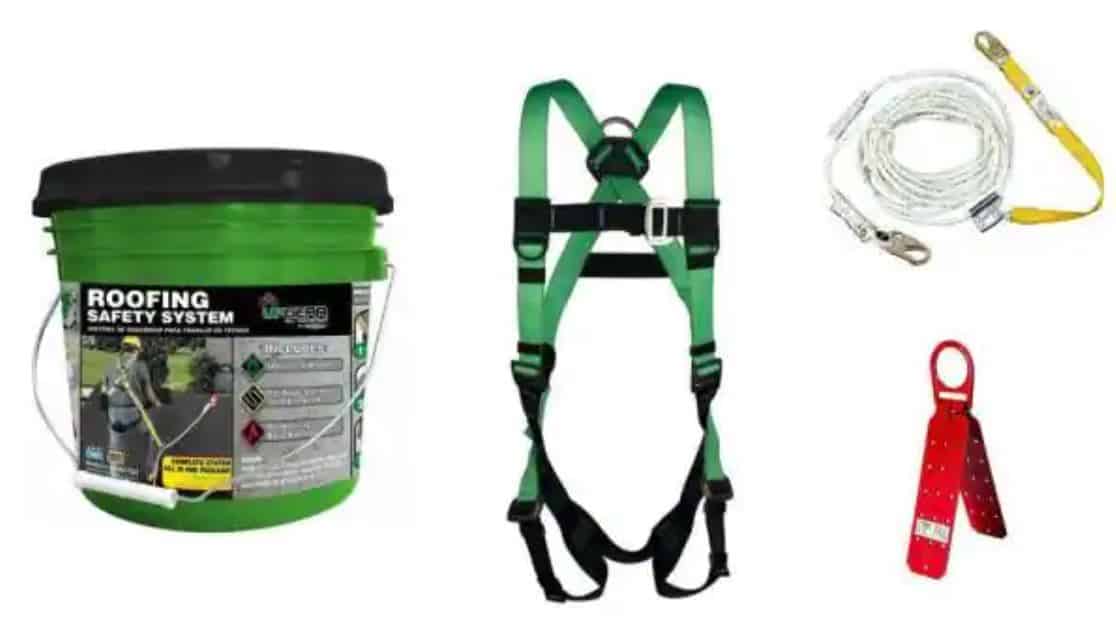
Sure, this isn’t the most exciting step, but it’s an important step. For a porch roof and connection project, I recommend at least considering the following:
- Hard Hat (for when you’re using equipment like a nail gun)
- Safety Harness
- With a reliable drop design, rated for a certain amount of weight (3,000 lbs is great)
- Multi-Position Ladder that meets high safety standards (such as OSHA or ANSI)
- Ladder Roof Hook (heavy duty)
- Others Working With You/ Spotting
Make sure you have what you need- and don’t skimp, because the last thing you want is to have an accident due to negligence.
Step Four: Placement & Attachment
Now it’s time to attach your porch roof to your home. Keep in mind that these are general steps- you may have to improvise if you have a special situation. Every step will have a helpful linked tutorial so you can make sure you’re completing it properly:
- Install Porch Columns. These act as your support system (see how to calculate weight/ load bearing above. (This Old House Tutorial)
- Install the Ground Sil. Also known as the sil plate, groundsel, or midnight sil, this is a critical step! The ground sil forms your foundation and is likewise a must for adequate support. Treated lumber is one of your best options (How to Lay Sil Plates)
- Pay Attention to/ Add A Ledger Board. A ledger board attaches a deck or porch to the home’s foundation, adds structural support, and impacts the angle of your porch roof. (How to Pep Patio/ Porch Roof Ledger)
- Install Main Rafters. The key is to make sure that your rafters are holding their weight- any sign of sagging means your support system needs to be adjusted. They normally start at the ridge or hip and run to your wall plate. (Rater Basics Tutorial)
- Install Ridge and Horizontal Boards/ End and Side Rafters. Ridge boards are used to connect rafters at the top of your roof and are important for any porch roof with a slope. The ends of the rafters should connect to a ceiling joist from your walls. (Step by Step Roof Framing). Nail any seams together.
- Add Support with a Fascia Board. This is attached to the end of your rafter and usually isn’t easy to see from the exterior. While not always needed, it’s a great way to add structural support. (How to Install a Fascia Board). Make sure it’s properly secured/ nailed down.
- Add Sheathing and Shingles. The sheathing is a step I see a lot of people miss but it can prevent damage and leaks in the future. The good news is that it works with both shingle-based and tile-based roofing systems. It also secures shingles and acts as additional support. (Sheathing and Shingling a Roof)
Even a home with siding will do just fine with this procedure. Adding strips of metal support can be helpful to prevent water damage.
Porch Roof Materials & Styles
If you’re going to connect a porch roof to home, might as well make sure you’re installing the best porch roof possible. If you haven’t already started constructing (or ordering) your porch roof- or you want to make improvements and repairs- read on. I’ll also slip in recommendations for materials.
Cost Estimator/ Saving Money
Not sure how much your porch roof project will cost? Unfortunately, it’s hard to say exactly how much this project will cost. Installing and attaching a porch roof to your home costs an average of $20,000 with professional labor. But a DIY project can cost just a few thousand to $10,000. To estimate the costs of your project, I’d make a budget checklist, including:
- All Tools and Supplies
- Materials For Roof
- Porch Columns
- Rafters
- Roofing Materials
From there, estimate how much you need from each and how much time is going to be required. To save money, think long term. A warranty on materials (or professional installation) may save you money in the long run.
At the same time, using higher-quality materials may mean fewer repairs. So while I’m all about taking on projects within my budget, I’ve often found that spending a little more upfront is worth it.
Main Porch Roof Materials
This of course brings me to the best materials for a roof. I don’t think there’s one perfect solution for your main materials, but there are several that are commonly used. Here’s my take on each of these main material options:
Wooden vs Asphalt Shingles vs Laminated Shingles
Wooden shingles are excellent for a classic look and insulation. Even better? Some can last up to 3 decades. The bad news? Wooden shingles can age unevenly, so you may find some need replacement before others. They provide up to twice the insulation- especially for higher quality wood. However, asphalt and laminated shingles are usually water resistant or waterproof.
While I love the look and appeal of cedar shingles, they cost more and aren’t quite as durable. I prefer asphalt shingles for a porch roof, just so you can cut your costs without sacrificing quality.
Metal Roof
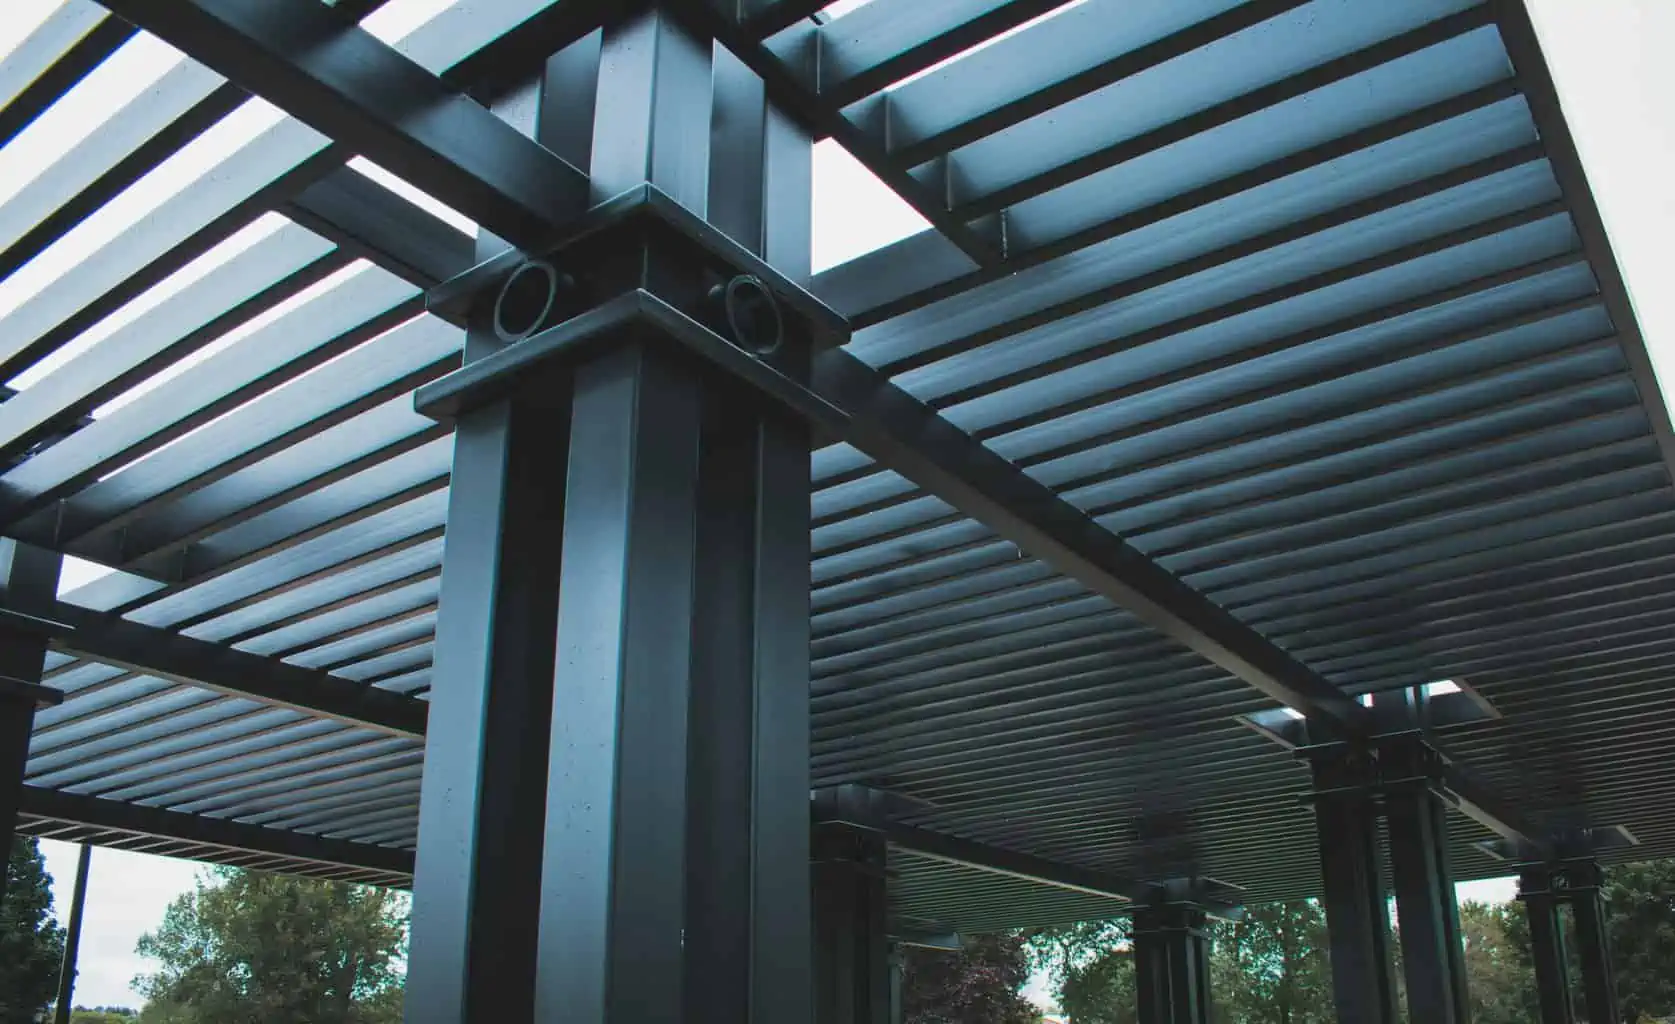
Aluminum and galvanized steel are the most common options. Galvanized steel is heavier but worth it. It’s steel with a protective zinc coating, so you don’t have to worry about rust. Bonus: steel is stronger than aluminum. Another great option- but more expensive- is a copper roof. It’s durable, and provides unique beauty- but usually, this isn’t a great choice for a DIY project.
While a metal porch roof is stylish and modern- as well as energy efficient- it comes with some downsides. It can be noisy, harder to clean, and challenging to repair.
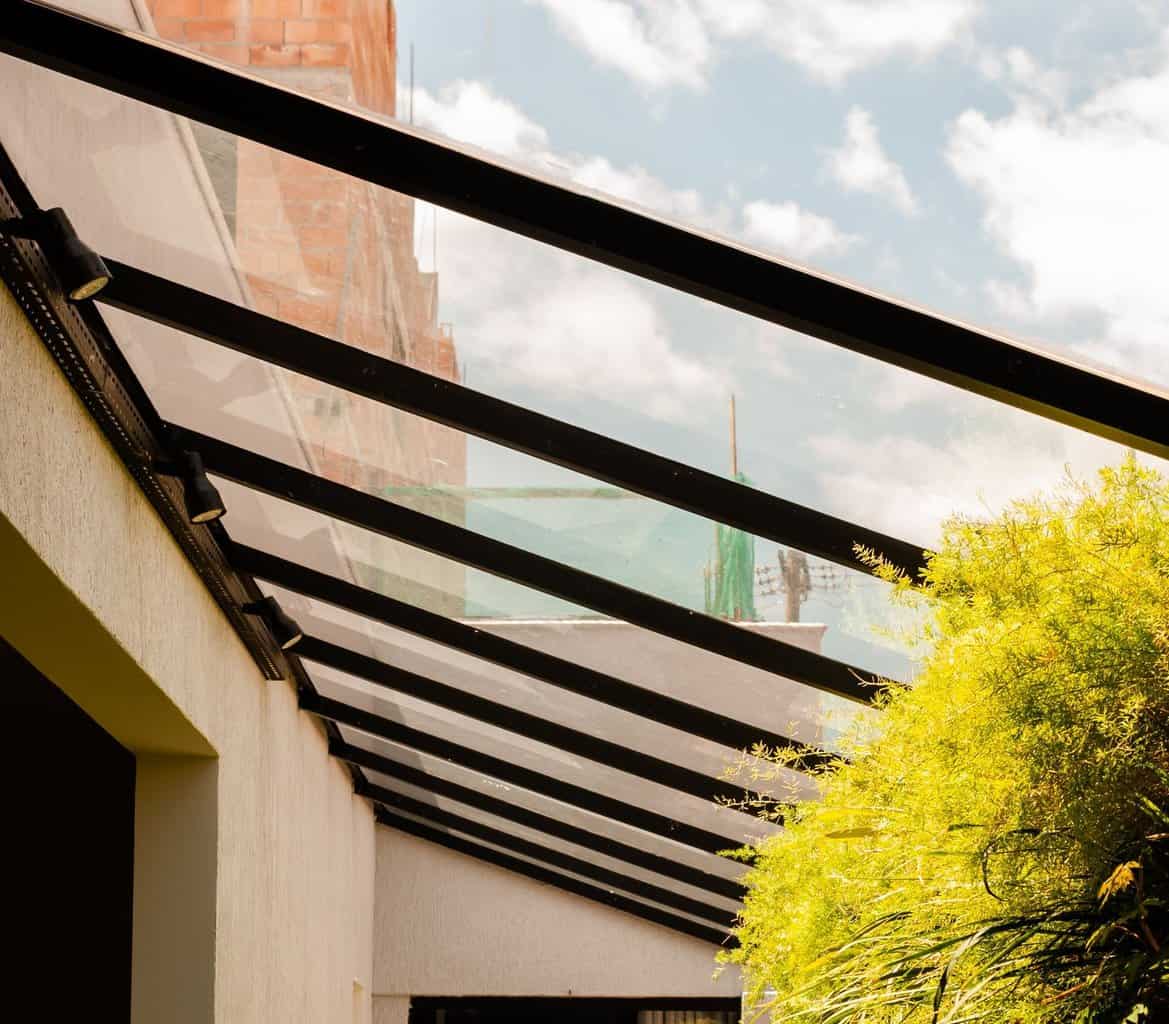
Plexiglass vs Polycarbonate
Plexiglass acrylic sheets are an excellent choice for someone who wants an overhang with the feeling (not the cost) of a full sunroom. It’s a beautiful choice that will protect you from sun and rain but offer plenty of natural light. It’s also far more durable than typical glass options. But I prefer polycarbonate sheeting instead.
That’s because polycarbonate offers the same benefits- but without the same potential to crack under pressure and greater UV ray protection.
Ceramic Tiles and Slate
Ceramic tile roofing is attractive and eco-friendly and it’s not susceptible to rotting like cedar or plywood. The downside? They can crack under pressure, are heavy, and can be tricky for DIY projects. Plus, a porch roof may not be able to bear as much weight- you need to make sure you have adequate support to pull this off.
A slate roof is a beautiful and popular choice- but not my top choice if you want to save money on your porch roof. It’s about as expensive as you can get, and, because it’s brittle, it’s tricky to maintain. On the plus side, it’s very weather resistant and adds a beautiful, modern appeal. Home Depot has reasonably affordable options (*see link).
Styles
There are many styles to consider for your porch roof- whether you want something simple and practical or classic. A pitched roof is any roof with a slope or many slopes, as opposed to a flat roof. A pitched roof is more common, but you may save money on a flat porch roof.
| Type of Porch Roof | What It Is/ For |
| Barrel Roof | a half circular roof, perfect for rustic homes |
| Gabled Roof/ A-Frame | classic overhang, with two angled parts |
| Gamble Roof | like a barrel roof, but a slightly angled top |
| Hip Roof | great for an extension like an angular sunroom |
| Pavillion Roof | Dramatic pyramid top |
| Sawtooth Roof | Asymmetrical with triangular angles |
There are other types, of course, but these are among the most popular. The higher the roof pitch, the more you’ll usually hear the rain. I love pairing different styles for a home roof vs a porch roof because it adds visual interest and contrast. The benefit of a flat porch roof is that it’s often cheaper, and you’ll have a full view of a second story. Meanwhile, I like a classic gable roof with a slight overhang for partially covered spaces (and a more minimalist look).
Edging
Edging, also known as trim, is something too many people discount. Why? Edging acts as a defense system against water. Over time, water can damage the edge of your roof- which could result in rot and a full roof replacement. You probably know this for a regular roof, but I highly recommend adding quality edging for your porch roof, too.
A galvanized steel drip edge is my top choice- and most houses have this in the United States. You may even be required to have one for your regular roof- so why not extend this to your porch roof? It should be constructed around the entire edge of your roof and is usually about 1 ½ inches, set right near shingles and the fascia.
Roof Sheath
Usually your roof sheath- even for a porch roof- will be made out of plywood, OSB (oriented strand board), or tongue and groove decking board. The purpose? It spreads out the weight burden and prevents your roof from caving in or sagging. So it makes sense this is an important decision! For a porch roof, I prefer OSB for most cases. Why? It tends to have more structural integrity, and it’s not as likely to warp as regular plywood.
Girts and purlins (horizontal and vertical support beams) may be needed for a metal roof- but I recommend professional installation.
Roof Felt
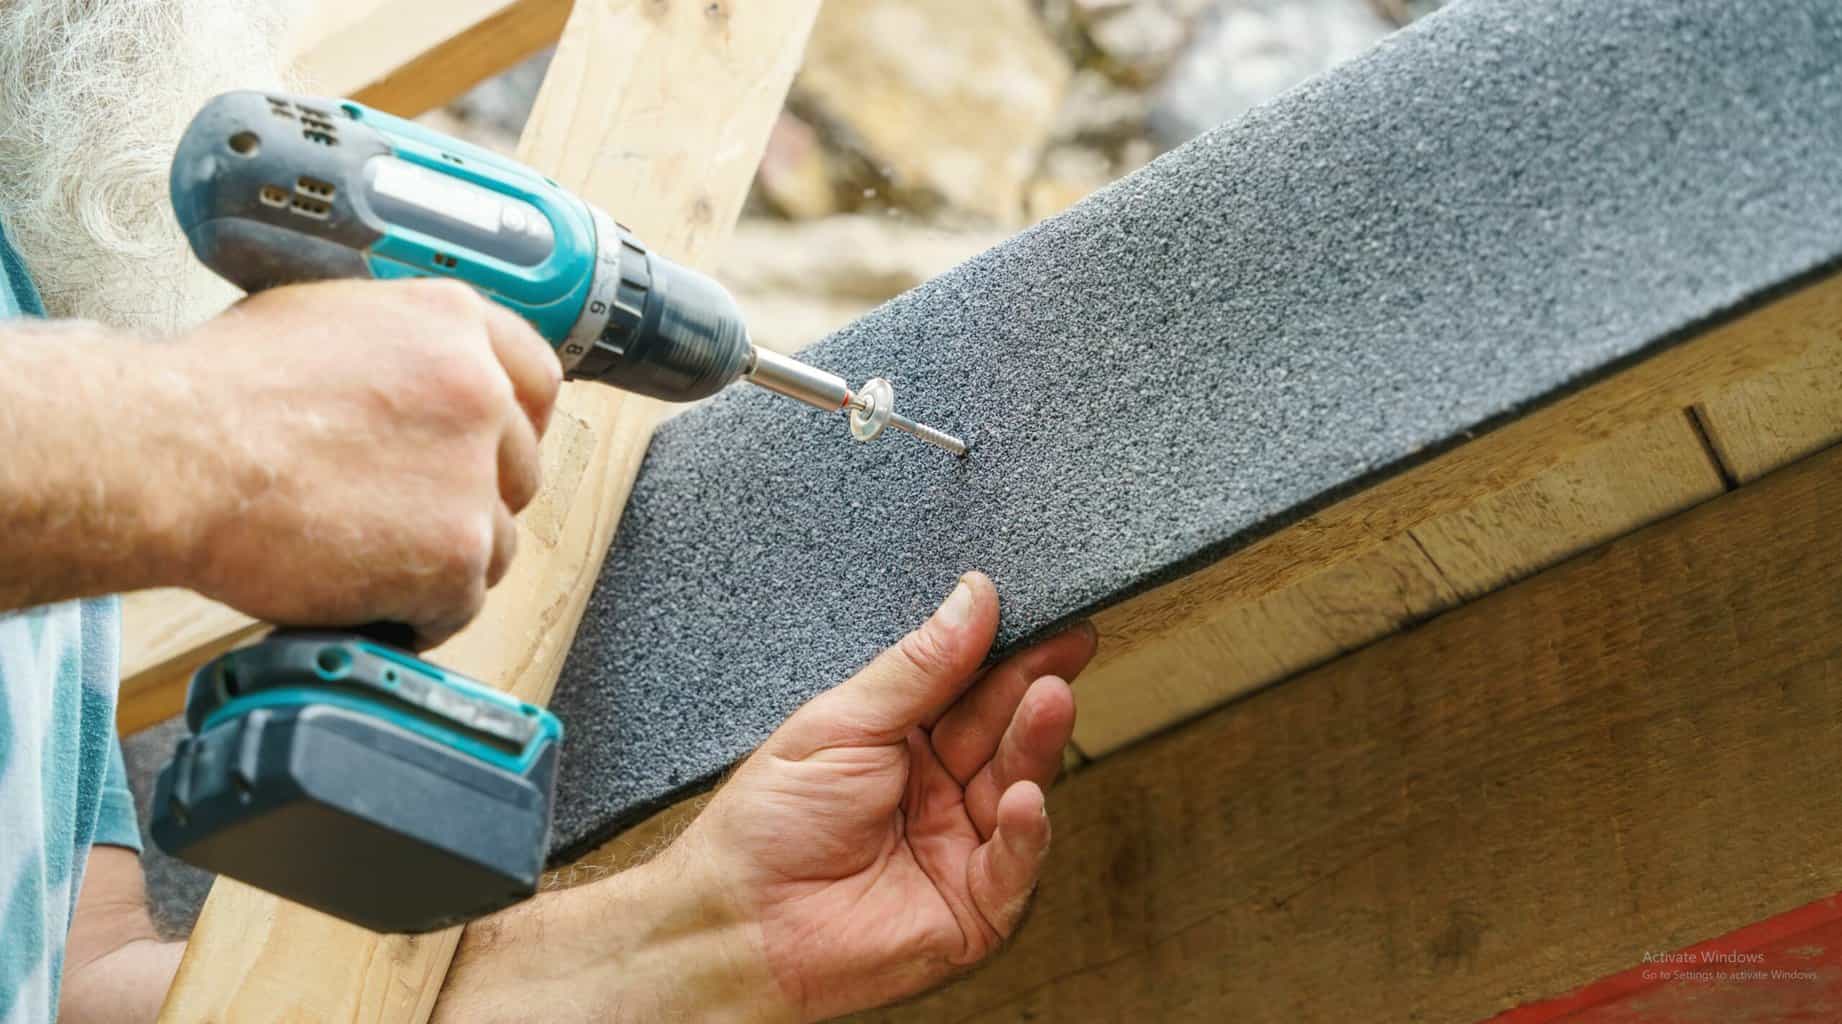
See roof felt like a temporary solution. While you’re working on your porch roof, and connecting it to your house, this acts as a protective barrier against the elements. You may even be required to have it (or other coverage) over your in-progress project. It’s sometimes used to protect against wind and rain. I like options that have anti-slip protection, like this Warrior Roofing Product from Home Depot.
Insulation
Have a closed porch with a great porch ceiling? If you want to keep your space comfortable- and you have extra to spend- consider adding insulation. The easiest way to do so? A high-density insulation foam. There are high-density foam roof kits, which do a great job of insulating but also protecting against moisture. If you have an open porch, you can skip this step in my opinion- so long as the porch has protective edging.
Frequently Asked Questions
Answer: Porches under a certain size usually don’t require a permit. So long as it doesn’t go against general safety guidelines, you should be fine. The caveat is homeowner’s associations sometimes have precise guidelines, so it’s always advisable to check with those first. I’d also check if your porch extends beyond around 3 meters long. Usually, porches are improved without permits, but it’s better to be safe before you fully invest in your project.
Answer: Adding a front porch is one of my favorite ways to update a home- and it could improve the resale value (and curb appeal) of your home. Homes with front porches are seen as more welcoming and are just enjoyable for the hosting company. That said, if you live on a busy and noisy street, a back patio may be a better investment. You should never rely on a porch alone to improve the value of your property. And, of course, it’s always a cost-benefit analysis. The average cost of a front porch addition is anywhere between $2,000 to $8,000.
Answer: How much it costs to add a porch roof depends greatly on how large it is, the materials being used, and if you’re adding to an existing roof. The average cost is $15,000 to $35,000- which includes both materials and installation fees. A DIY porch, meanwhile, costs an average of just $5,000 to $10,000. In other words: it’s an investment either way, but labor adds a hefty price tag to the final cost. There are online roofing cost calculators that use your zip code to estimate costs, but most are more catered to full roofing projects on a home. Your best bet is to get a few estimates and compare.
Answer: A farmer’s porch isn’t just for country or Southern homes. This style of porch is the same as an open porch and is more often featured in New England-style homes. There are pros and cons to farmers’ porches. The open style seamlessly wraps around the home and attaches to hefty support beams. These porches tend to be sturdy and versatile, but they also aren’t going to provide much coverage from the elements.
Final Thoughts
A porch roof is an excellent choice for extending the use of your porch. Providing coverage from the sun, it’s a good investment if you have the money. Of course, adding a porch roof is neither cheap nor easy- so you need to be confident you can afford it and you can DIY. If you’ve never taken on a home construction project before, it may not be worth the initial savings if you don’t feel comfortable doing it. Whatever you decide, select a porch roof style that suits your home.
Final Recommendations
If you do not feel comfortable with a DIY project, you can always seek a professional contractor. Search “roof contractors near me” and check out their professional reviews and BBB profile.
If you’re set on a DIY project, I recommend using asphalt shingles for your main roof material. That’s about as cost-effective as you can get, with weather resistance and low maintenance. Some asphalt shingles can last three decades.
Recommended Reads: